Quick navigate this page
SnapPod Manual
Hey Professionals 👋
Welcome to the SnapPod Manual—your all-in-one guide for making professional podcast edits in record time. Whether you're just getting started or you’ve been editing podcasts for years, this manual will help you unlock every feature of SnapPod, including:
- How to set up and run your first auto edit
- A deep dive into all SnapPod functions
- Workflow tips to speed up your editing

Running Your First Auto Edit
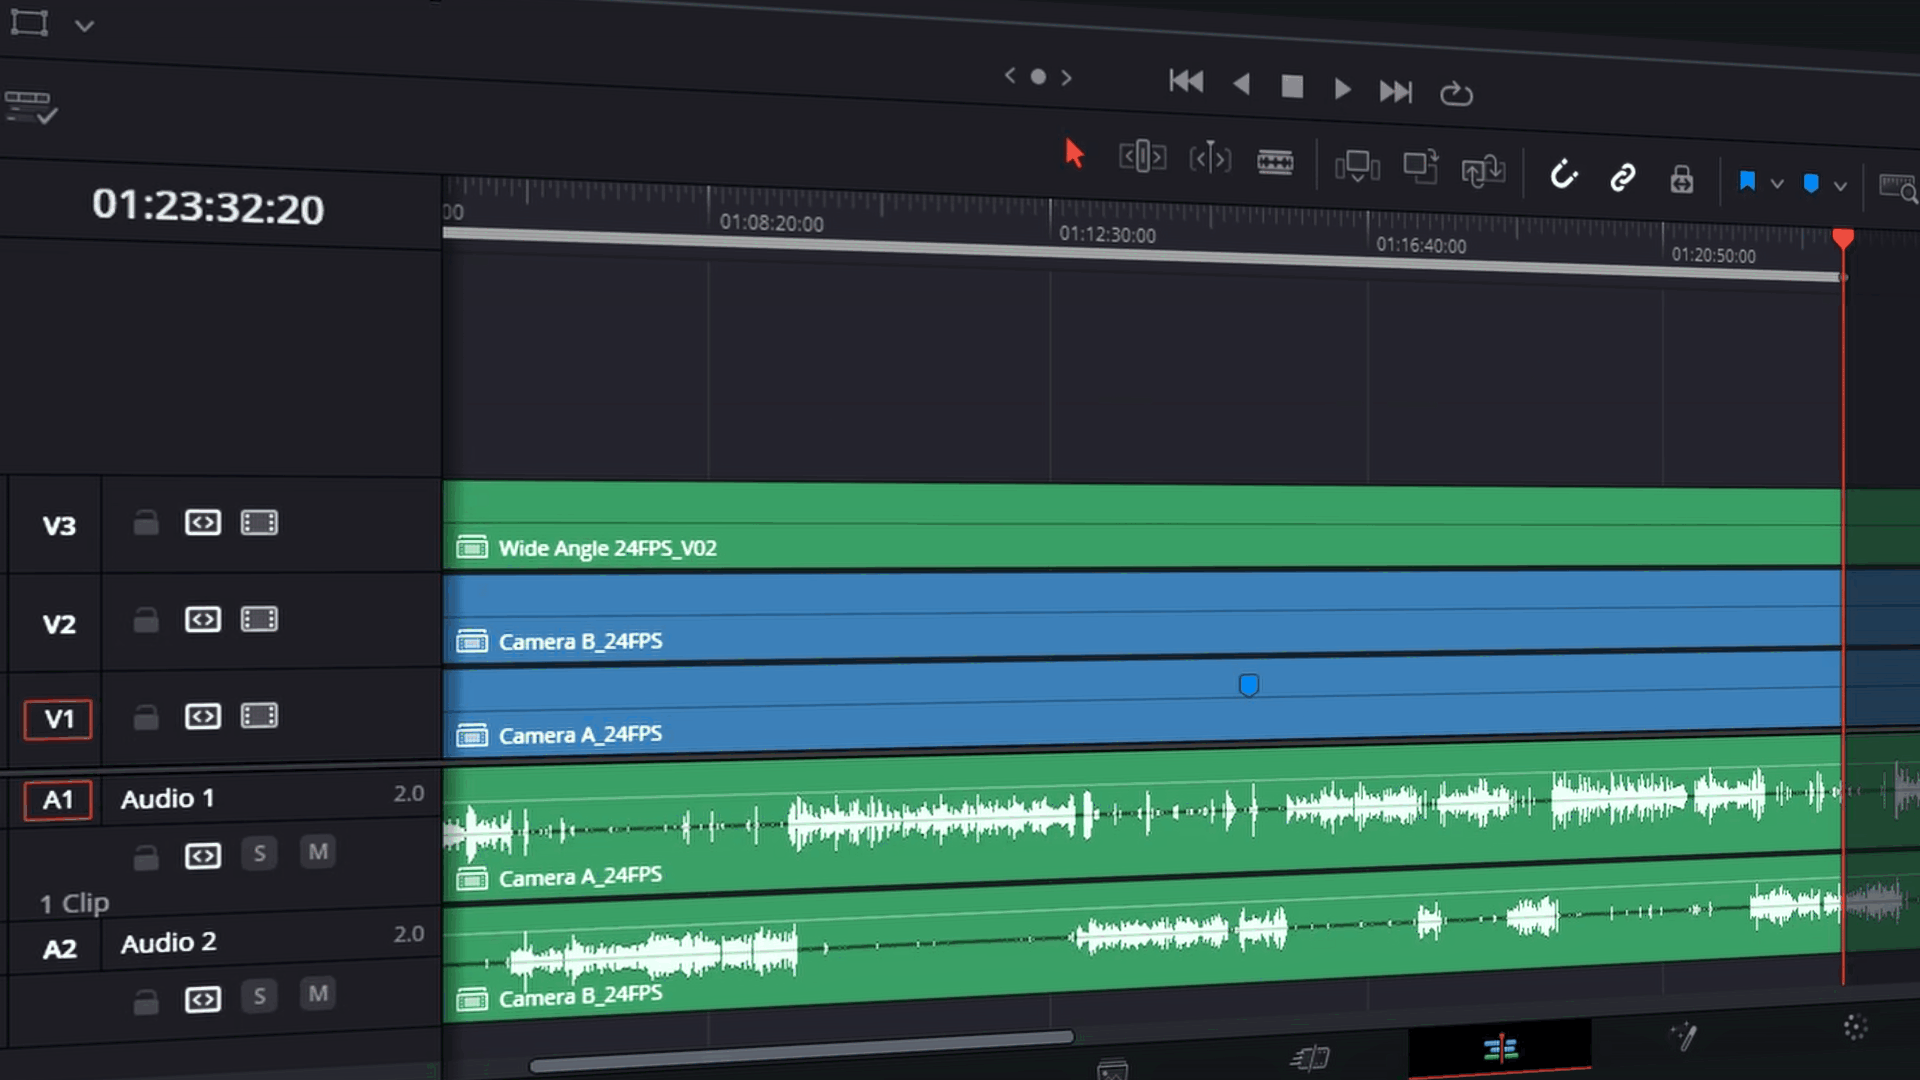
SnapPod is designed to simplify the tedious parts of podcast editing, but to get started we have to make sure your timeline is set up the correct way.
Assigning The Audio and Video Tracks In SnapPod
After setting up the timeline, we will need to let SnapPod know which speaker’s audio belongs to which video tracks.

- Match each speaker’s audio and video tracks in Snap Pod’s settings.
- Example:
Match Video 1 to Audio 1
Match Video 2 to Audio 2
- Optionally, assign your wide angle track by clicking on + Wide Angle.
- If you have more than 2 videos, click + Camera to add another video & audio track to assign.

Tip
Snap Pod respects your in/out points! If you want to edit only a portion of your timeline, you can set in & out points first.

In & Out Points Shortcuts:
Action | Key |
Set In Mark | I |
Set Out Mark | O |
Remove In & Out | Alt / Opt + X |
Track Modes
- SnapPod lets you decide between two track modes


Single Track Mode:
- Snap Pod places all cuts on one track.
- Cleaner timeline for quick exports.
- Less flexibility for manual tweaks.
Multi-Track Mode:
- Snap Pod separates clips across multiple tracks. Each video will have its own track.
- Easier for manual adjustments post-edit.
- Recommended for fine-tuning or client revisions.

You’re ready to hit Auto Edit!


BUT, is it in the style that represents your style…
To get the best refined results possible, you might need to tweak the advanced settings. Let’s breakdown the Advanced Settings!
Advanced Settings

SnapPod’s advanced settings allows you to fine-tune your edit. These settings include:

Ignore Cuts:
Set how often cuts happen. Ignores cuts less than the set seconds.
- Prevents cuts on filler words ("um", "ah").
- Smooths out the pacing.
- Example: Set to 2 seconds for a natural flow.
Cut Timing:
Sets the edit pace by controlling when cuts happen.
- Early cut: Start camera switch just before audio.
- Late cut: Start camera switch after audio begins.
J-cuts & L-cuts:Use Cut Timing to create smooth transitions between speakers.


Silence Deletion:
⚠️ Silence deletion has been temporarily disabled as we work on future compatibility updates with Resolve. It will be back soon 🙂
Auto-deleting silences:
- Off — Leave pauses intact.
- Light — Cut some silence.
- Aggressive — Cut all silence for fast-paced edits.
Wide Angle Frequency:
Sets the edit pace by controlling when cuts happen.

Tip
You can remove all of the customisations you made to the settings by scrolling to the very bottom of SnapPod and clicking Reset to Defaults.

Saving Presets & Updating Cuts
Got a setup you love? You can save it as a preset to use for future edits!

- Enter a Preset Name
- Click Save Settings
- Load it anytime from the dropdown menu.
- Load it anytime from the dropdown menu.
- You can also Import & Export presets using the buttons below.

Update Cuts & Analyse Audio

Update Cuts (Instead of Auto Edit)
If you’ve already analysed the audio and:
- no changes to the audio or timing of your original clips.
Then
- Use Update Cuts to reapply settings without re-analyzing.
Analyze Audio
If you’ve adjusted audio tracks:
- Use Analyze Audio to refresh SnapPod’s detection.

Preferences Settings

If you click on the cogwheel icon, you will unlock the Preferences Settings where you can further customise your auto-edit experience.
The preferences menu is designed to be something setup once, so you’re not reapplying the same settings on every project.
In Preferences Settings, you will find:
Leave Markers At Ignored Cuts: Leaves markers on the timeline where SnapPod chose not to cut.
Noise Floor: This tells Snap Pod what level of audio should be ignored. This helps it avoid confusion from outside noise sources.
Wide angle max duration: Adjusts the max duration of the wide angle


Save Default Track Selection: Saves your chosen video and audio tracks, so every time you run Snap Pod, your track layout is automatically set to your preferred default.
When You’re Ready...
Click Auto Edit, and Snap Pod will automatically generate your edits—ready to go on your timeline. 🙌